


How to Properly Operate a Dump Trailer: A Step-by-Step Guide

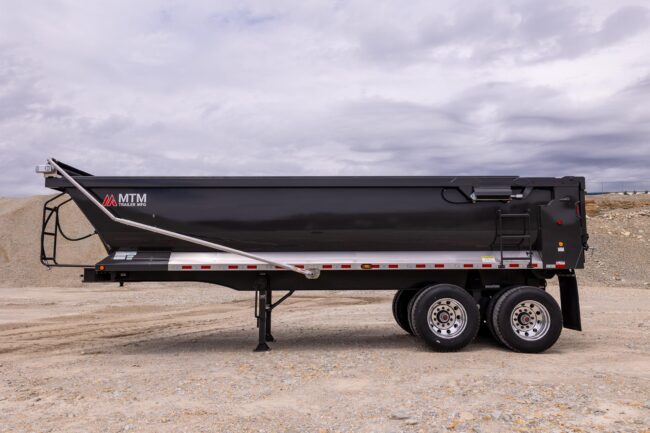
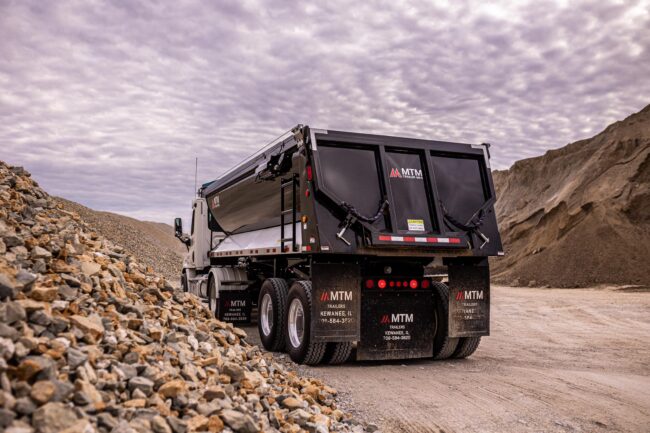
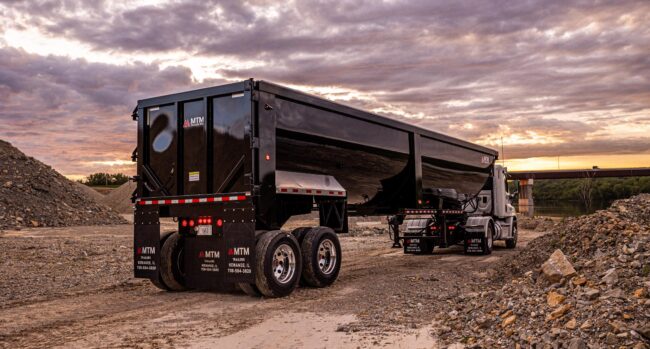
Operating a dump trailer safely and efficiently requires a solid understanding of the equipment. This guide will walk you through the basic steps of connecting, checking, and operating a dump trailer, using three of our models as examples.
Disclaimer: We’re not OSHA or a driving/operating school. Consider these simply tips or best practices for operating your MTM end-dump.
Step 1: Aligning and Connecting the Trailer
Aligning the Fifth Wheel and Kingpin
Before connecting your trailer, ensure that your truck’s fifth wheel is aligned with the trailer’s kingpin. You can check this by checking your mirrors or using your rear window if your semi-truck has one.
Coupling the Trailer
Back your truck up slowly until you hear the trailer couple with the fifth wheel. Once you hear the coupling sound, put your truck in first gear and gently pull forward. The trailer should drag slightly, which confirms a secure connection.
Step 2: Connecting the Air and Electrical Lines
Next, connect your trailer’s air and electrical lines. Here’s how:
- Connect the service brake line to its designated port on the trailer.
- Attach the emergency brake line next.
- Plug in the seven-pin electrical connector securely to power your trailer lights.
- Attach the universal glad hand, which operates the tailgate latches, air high lift, and bag dump switch.
Step 3: Connecting the Hydraulic Line
After hooking up the air and electrical lines, move to the hydraulic system:
- Remove the plug from the hydraulic fitting on the trailer.
- Attach the hydraulic hose securely, ensuring the wing nut is on straight and tightened completely.
Step 4: Checking the Lights
Before hitting the road, ensure all trailer lights are functioning:
- Turn on the truck and trailer lights.
- Check each light in sequence:
- Driver’s Side Lights: Verify that the front, side, and rear lights work.
- Passenger’s Side Lights: Repeat the process for the passenger side, including checking the turn signals and hazard lights.
Step 5: Raising the Stiff Legs
Release the pins from the stiff legs and raise them, locking them securely into place. This step ensures that the trailer is ready for transport and won’t interfere during operation.
Step 6: Understanding Tailgate Latches and High Lift Options
All trailers have two types of latches for safety, especially when hauling heavy loads like slurry or aggregates:
- Hydraulic High Lift Tailgate: This feature runs off the main cylinder at the front of the trailer. It’s plumbed under the trailer to a shut-off valve that controls whether the high lift is engaged.
- Switching Modes: To use the trailer as a regular swing tailgate, shut off the hydraulic pressure. For cleaning or maintenance, switch the hydraulic valve back on to raise the high lift tailgate without lifting the main cylinder.
Step 7: Operating the Bag Dump Feature
Check that your bag dump switch is in the down position before operating. This step ensures that the trailer will release pressure from the air suspension system when dumping, preventing the trailer from tipping over.
Step 8: Raising the Trailer and Tailgate
With all connections and safety checks complete, follow these steps to raise the trailer and tailgate:
- Release both the truck and trailer brakes.
- Wait for the air pressure to build up in the trailer system.
- Engage the PTO (Power Take-Off).
- Pull the tailgate latch switch to open the tailgate.
- Activate the airbag dump switch.
- Start raising the trailer bed once the latches are open and the bags are dumped.
By releasing the brakes, engaging the PTO, and coordinating the tailgate and airbag dump features, you’ll be able to smoothly lift and operate the trailer.
Conclusion
Properly operating a dump trailer requires attention to detail and a thorough understanding of each component. By following these steps, you’ll ensure a safe and efficient operation every time. If you’re ever unsure or need assistance, our team is here to help with any maintenance or operational questions you might have.